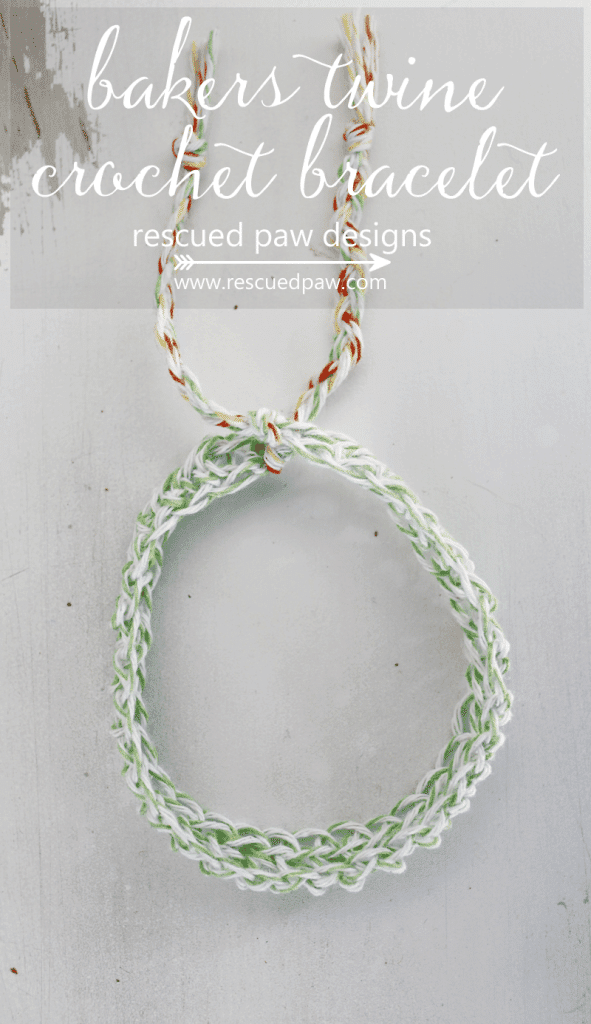
Bakers Twine Crochet Bracelet Pattern
If you love simple and easy to make crochet jewelry patterns, then you will LOVE this basic stitch bracelet. It is great for beginner crocheters to try, and it works up within ten minutes!
So, if you want a quick to make easy crocheted bracelet, this is the one for you!
Read on down to get the free crochet pattern as starting making these easy bracelets today.
Last fall, I found a variety pack of bakers twine on clearance at Target and grabbed it up. Yay, to sale items! I finally got around to using it (I mean finding it because it was lost on my desk until now) this spring and whipped up this easy bakers twine crochet bracelet.

When I was deciding on what colors to use I decided to go with fun bright colors in green, yellow and orange since I love radiant colors for summer!
As I was crocheting this up the bracelet instantly reminded me of fresh summer fruits like limes, oranges and lemons. I can’t wait to see what color combinations you come up with for your bracelets! Be sure to share them when you are done with me if you can!
I can’t wait to see!
Happy Crocheting!
Bakers Twine Crochet Bracelet Pattern
Skill Level: Easy
Materials
- Bakers twine in a variety of colors, I used 3 different colors.
- Size E crochet hook 3.5 mm
- Scissors
Crochet Terms
- hdc = half double crochet
- ch = chain
Notes
- You MAY sell items made from this pattern. If you choose to sell items made from this pattern, please link back to me at www.easycrochet.com for credit. Do not use my photos to sell any items. Thank you for respecting my work.
- Written in standard US terms
- Finished size = Adult = 13.5″ Child = 10″ (with braids) X .25″
- Here is a fringe tutorial (you will use this to add the twine to braid) = How to add fringe tutorial.
The Crochet Bracelet Pattern Steps
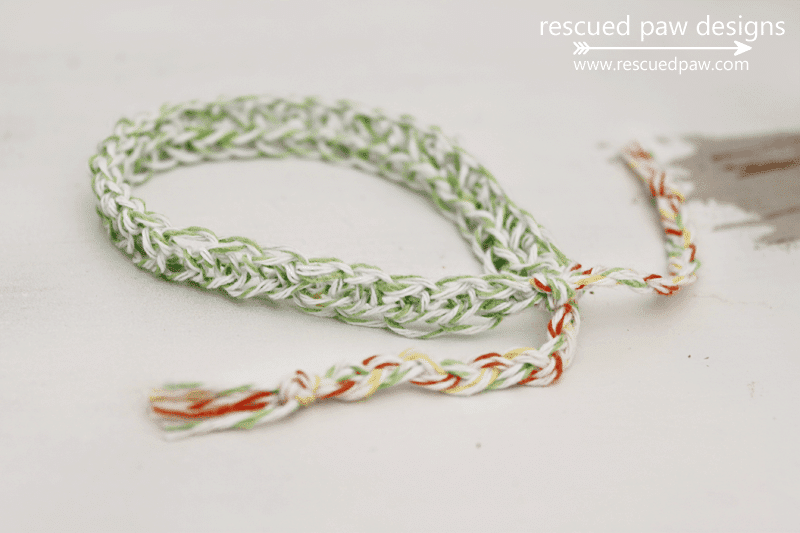
- using your first color of choice make sure to leave a 3″ piece of twine at beginning of ch, then ch 32 (adult) ch 22 (child), hdc in 3rd chain from hook, and in every ch across, fasten off leaving another 3″ piece of twine.
- cut two 6″ pieces of twine of each color expect the first color you will only need one 6″ piece.
- Using 3 6″ pieces (1 of each color) attach to opposite side you fastened off on using the how to add fringe tutorial. Now attach on opposite side using the last 2 colors that are remaining.
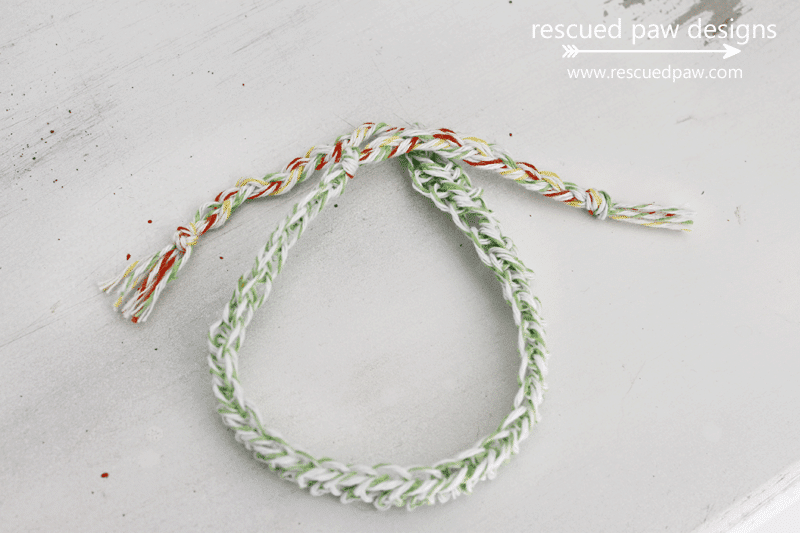
- braid the colors on each side to the desired length ( I did 3″ on each side) and tie to fasten off.
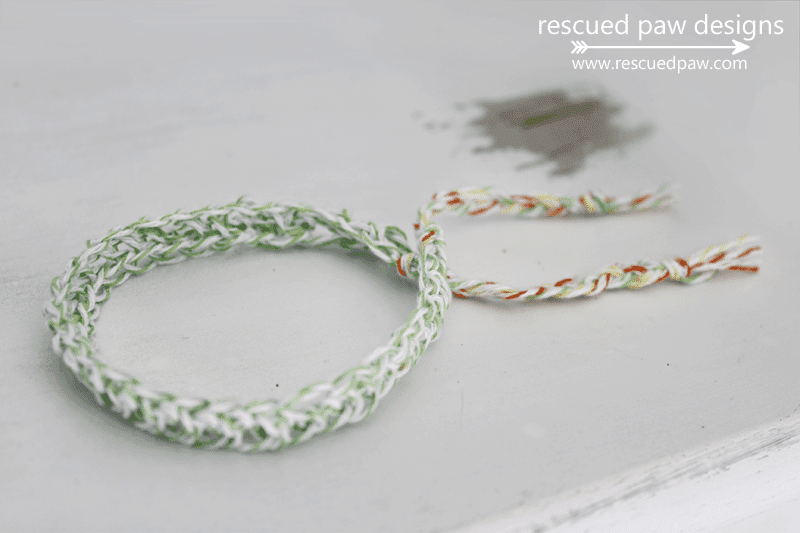
- trim excess twine with scissors to make it look even & straight.
- the bracelet is complete! It is now ready to tie on & wear!
I hope you enjoyed this pattern. If you have any questions please feel free to ask! I am more than happy to assist in any way possible.

More Free Crochet Patterns
- 25 Warm Weather Crochet Patterns To Make
- 18 Cute Crochet Cow Patterns
- 30 Free Crochet Baby Blanket Patterns
- 12 Crochet Graduation Gifts To Make This Year
- 50 Easy Crochet Ideas For When You Can’t Make Up Your Mind
- 15 Free and Easy Moss Stitch Crochet Patterns
- 25 Crochet Gifts for Men (All Free Patterns)
- 5 First Crochet Patterns for Beginners
- 24 Free Shamrock and Clover Crochet Patterns
- 16 Free and Easy Modern Crochet Bag Patterns
- 10 Easy Crochet Beginner Washcloth Patterns
- 5 Easy and Free Bathroom Crochet Patterns to Make this Spring