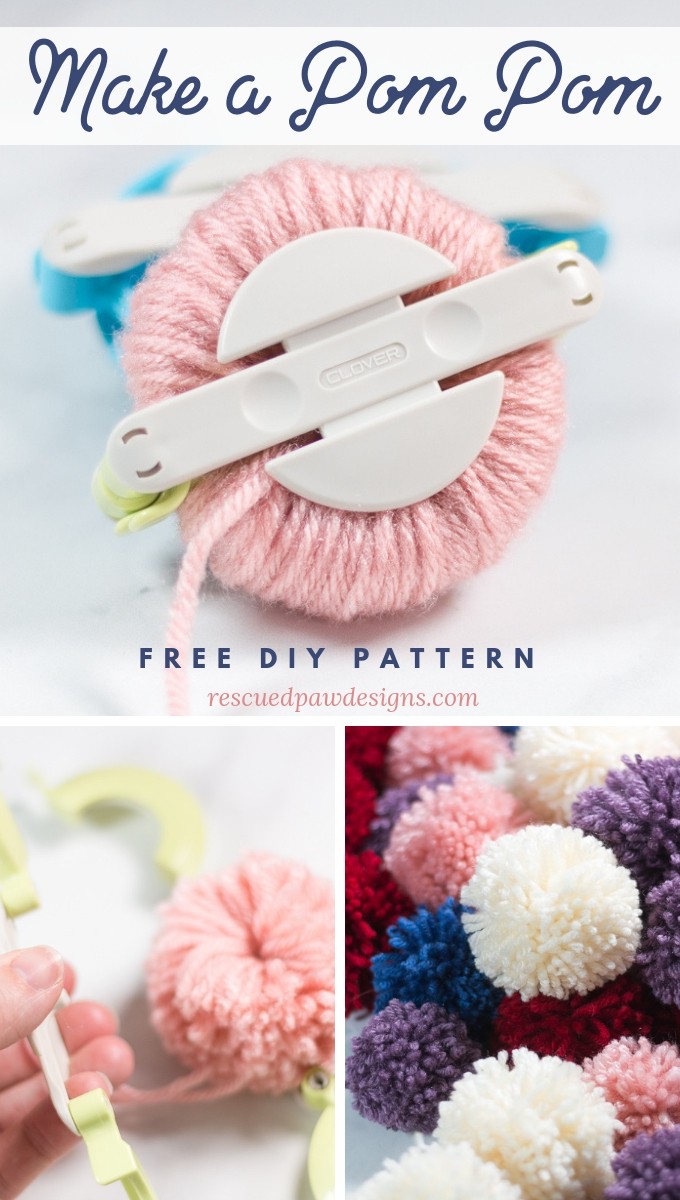
How to Use A Clover Pom Pom Maker
Do you have clover pompom maker and want to learn how to use it to make yarn poms? You can!
Learn how to make a pom with the simple clover pom maker instructions below and see how easy it is to make a pom out of yarn!
Do you want to add one of your homemade poms to a crochet pattern? Add them to the reader’s favorite mustard crochet hat pattern. I hope you enjoy this yarn pom pom DIY tutorial!
Happy Pom Making!
Materials You’ll Need to Make a Yarn Pom and a Maker
- Yarn
- I used Lion Brand Vanna’s Choice for this tutorial.
- Scissors
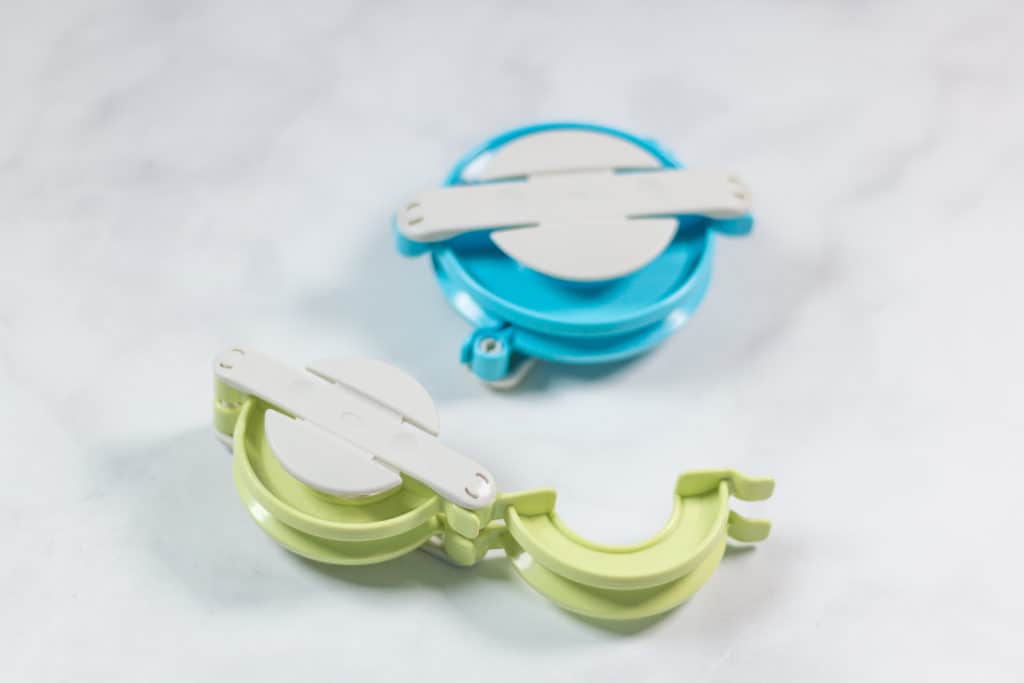
- Clover Pom Maker

Where Do I Buy a Clover Pom Pom Maker?
This tutorial is written with the assumption that you are considering purchasing a pom maker or already own one. If you were asking yourself, “Where do I buy a clover pom-pom maker?” I can help!
You can buy these makers at most crafts stores, Amazon or directly from Clover. You can click the images below to check out the different sizes of makers to see which one (or all!) would be best for you. They all work great!
What Yarn Should I Use in My Pom Pom Maker?
The answer to this question is simple! Whatever yarn you want! For this particular tutorial, I used Lion Brand Vanna’s Choice, which is a worsted weight four yarn, but you can use any yarn weight you prefer.
The chunkier the thread, the puffier the pom, which makes for an even quicker DIY pom. Below are some yarns that, I think, are great to use with a pom pom maker.
Read on down to learn how to use a pom maker in no time at all! Happy Pom Making!
How to Use a Clover Pom-Pom Maker Tutorial
Skill Level: Basic
Materials
- Yarn (any weight or brand will work)
- Pom Maker (any size)
- Scissors
Notes
- Written in US Standard Terms
- A video tutorial is coming soon!
How to Make a Pom Pom with Yarn Tutorial
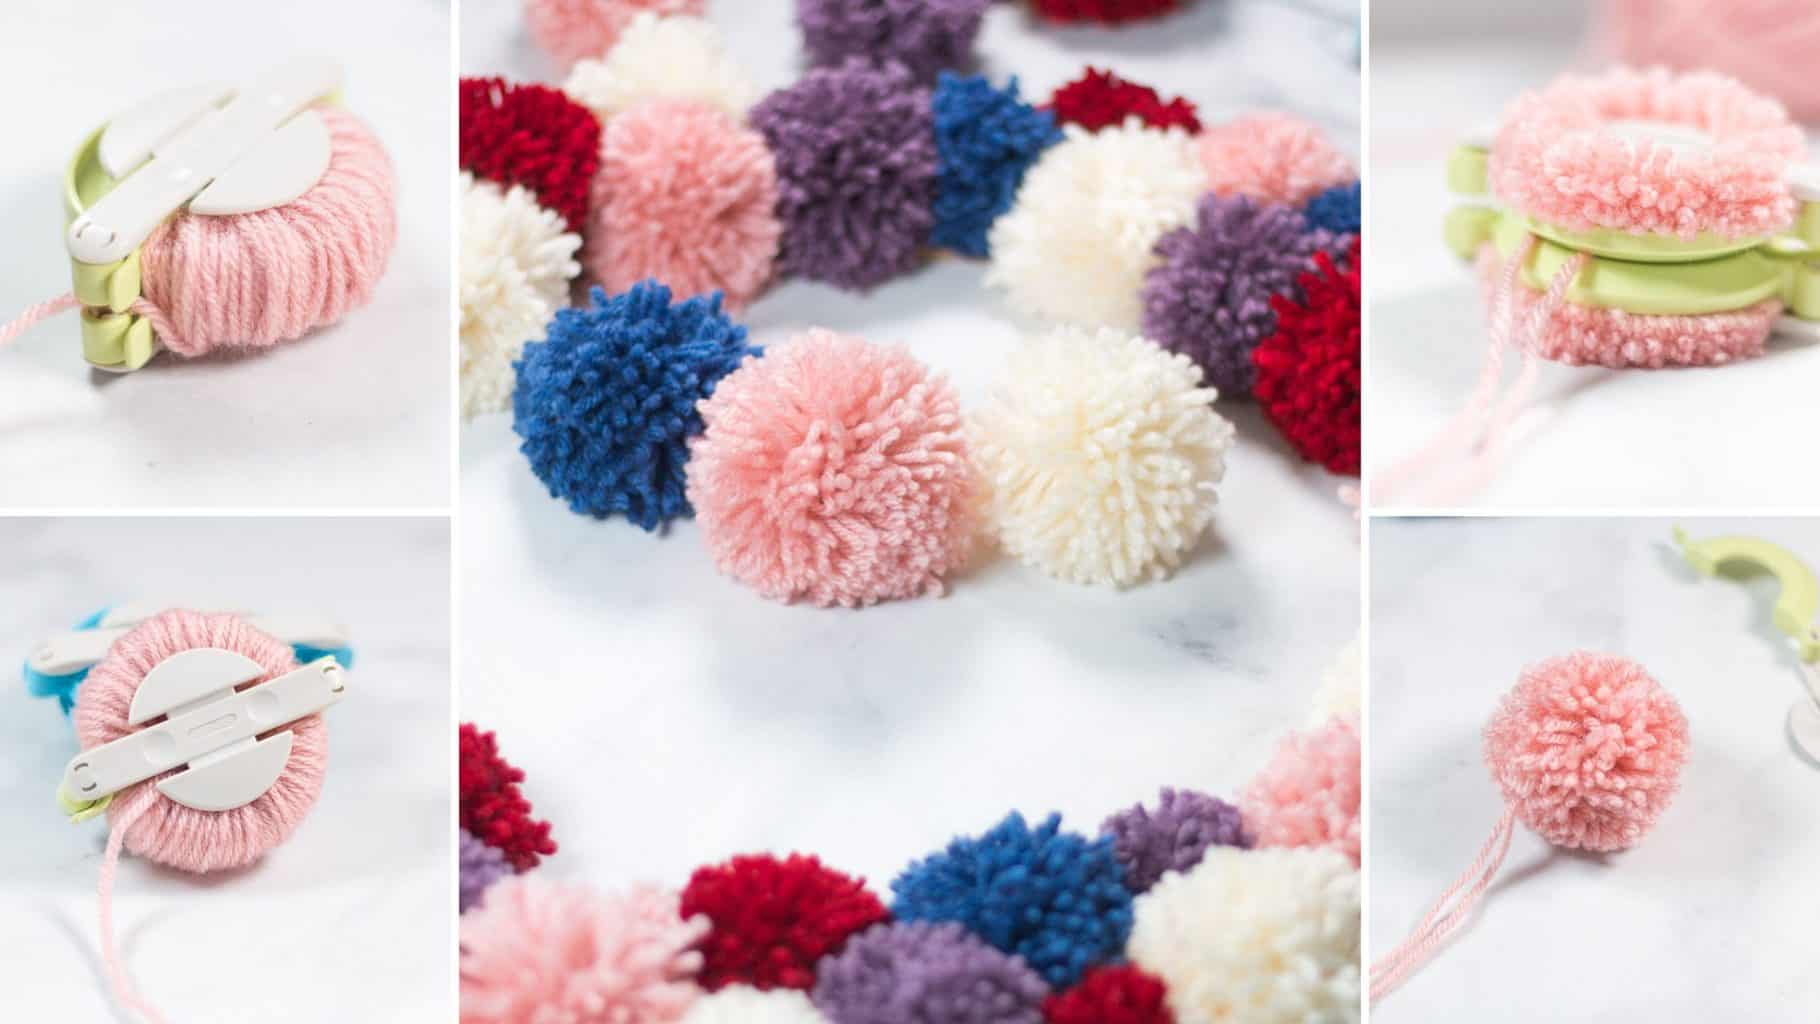
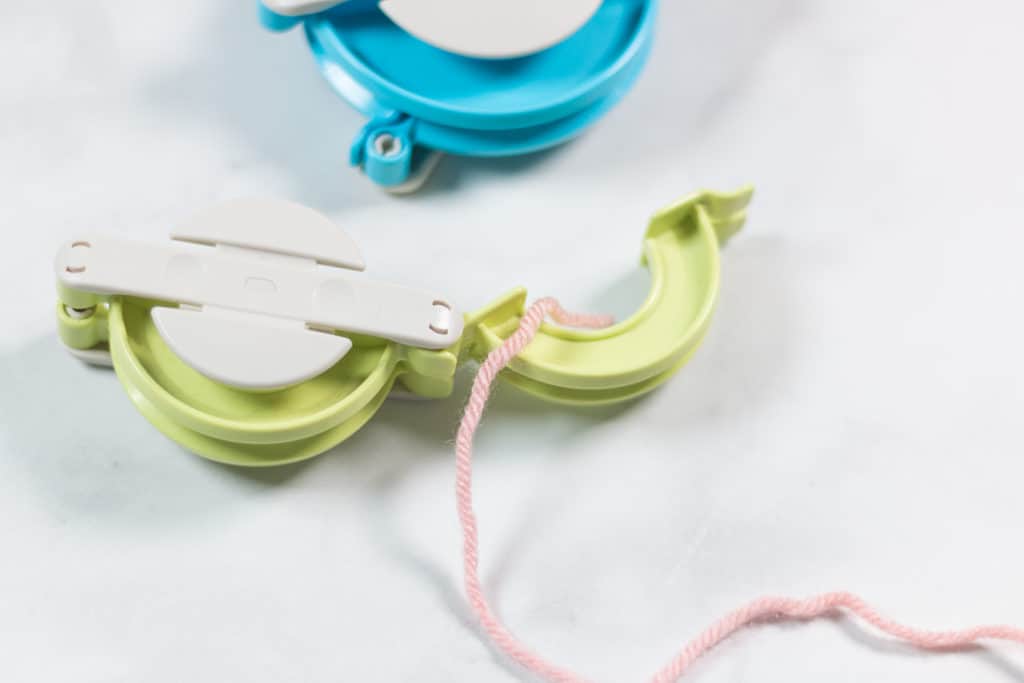
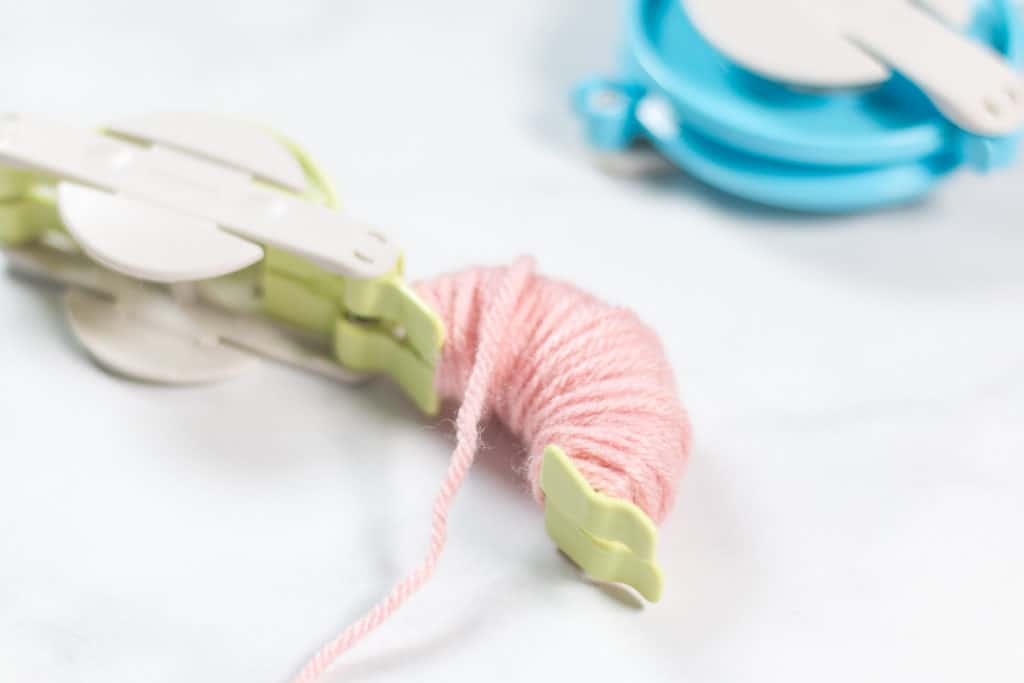
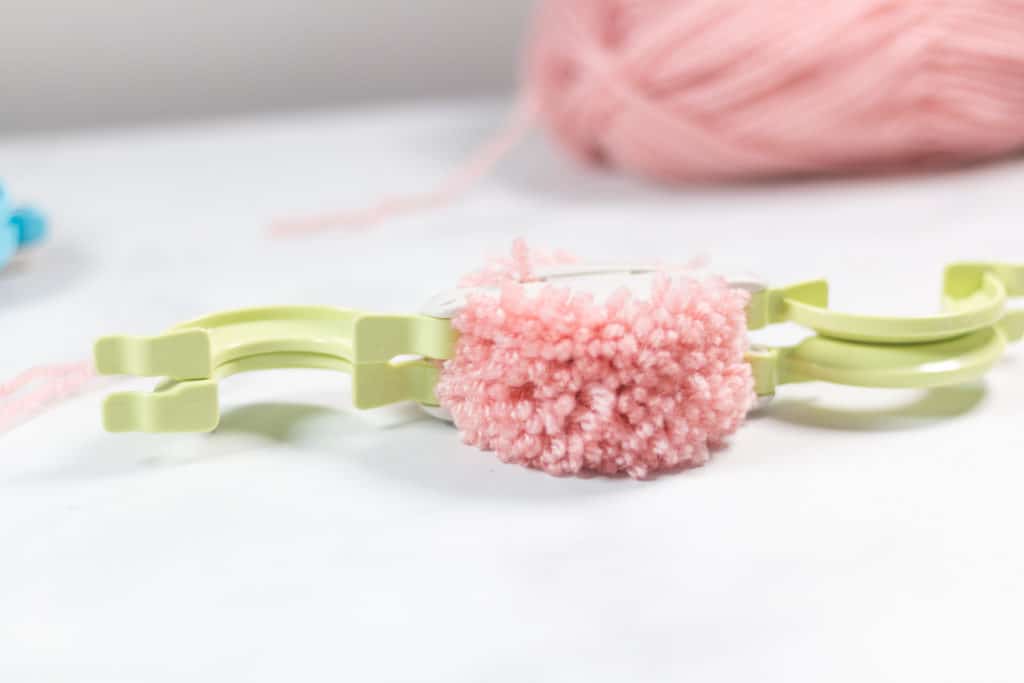
- First, open the pom pom maker on one side, holding the two opened ends together.
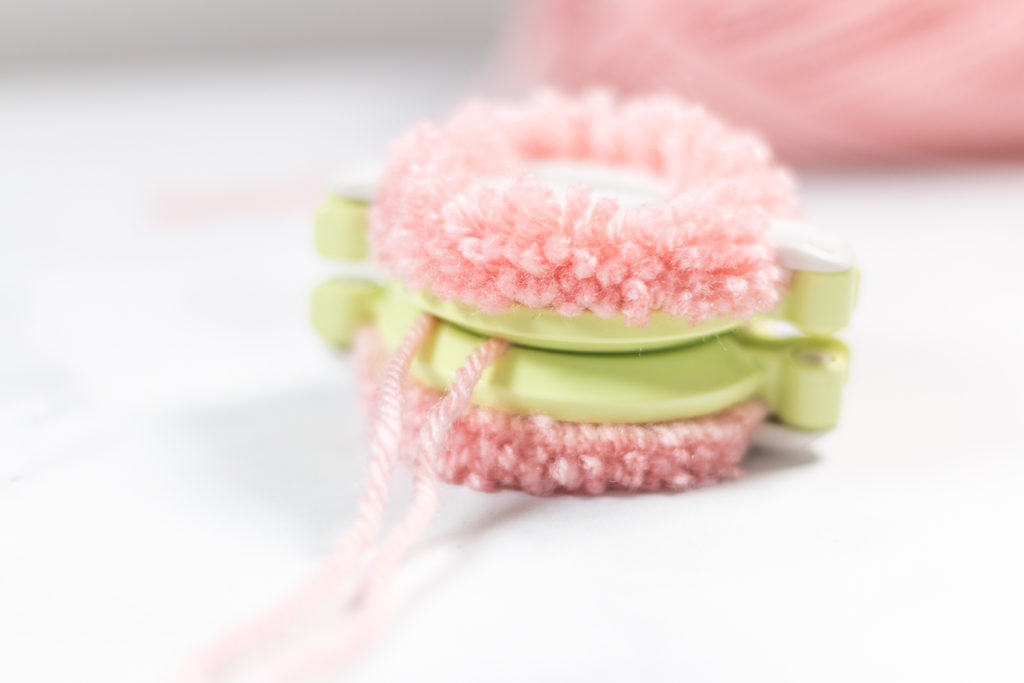
- Second, wrap your yarn at least a 100-125 times (this will depend on the yarn you use and the thickness of the pom) Close the ends of the pom makers.
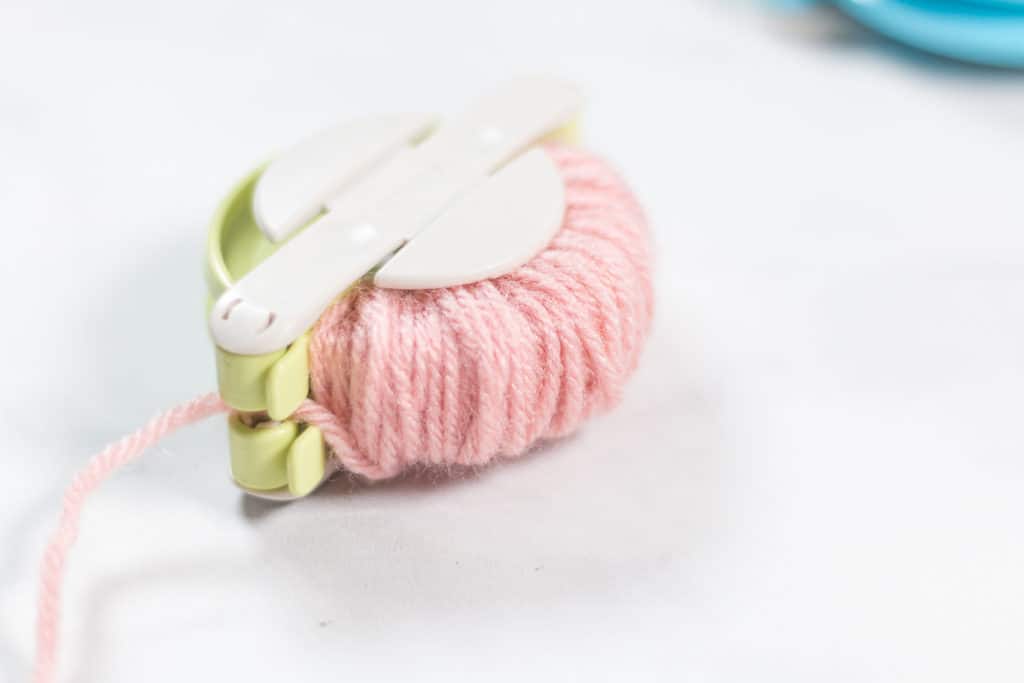
- Open the opposite side of the pom makers again, holding the two sides together, and wrap yarn again 100-125 times.

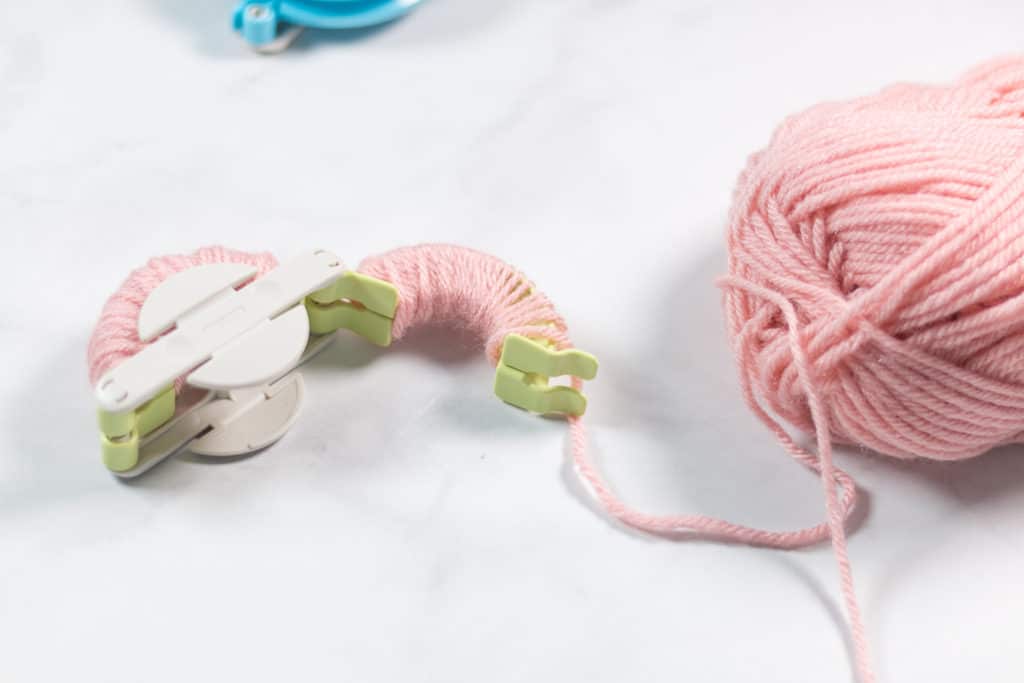
- Close the ends & cut the yarn.
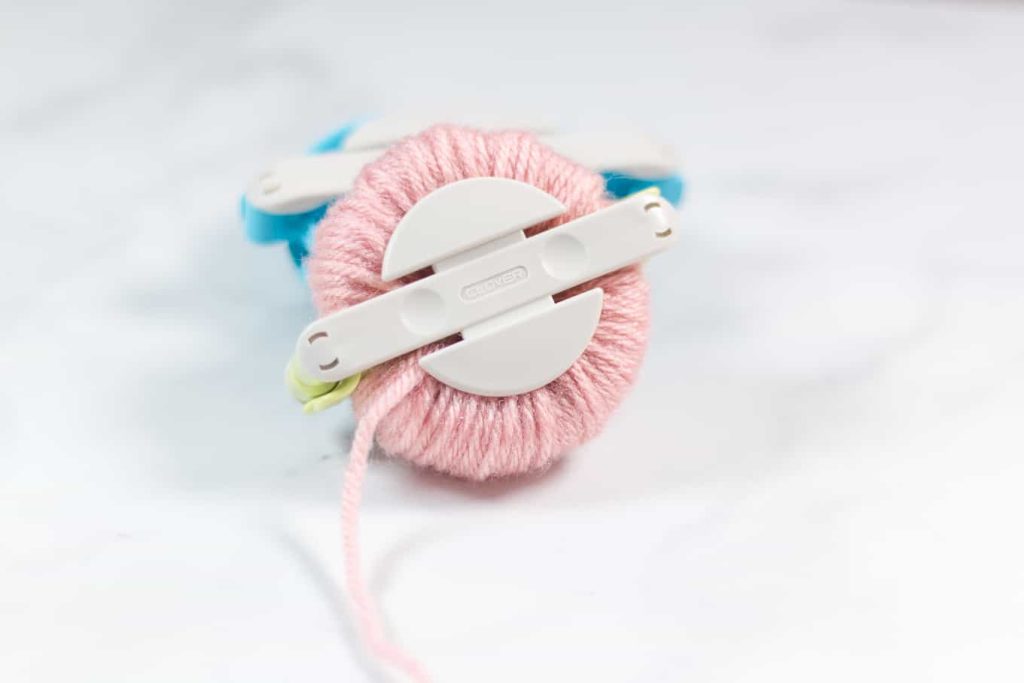
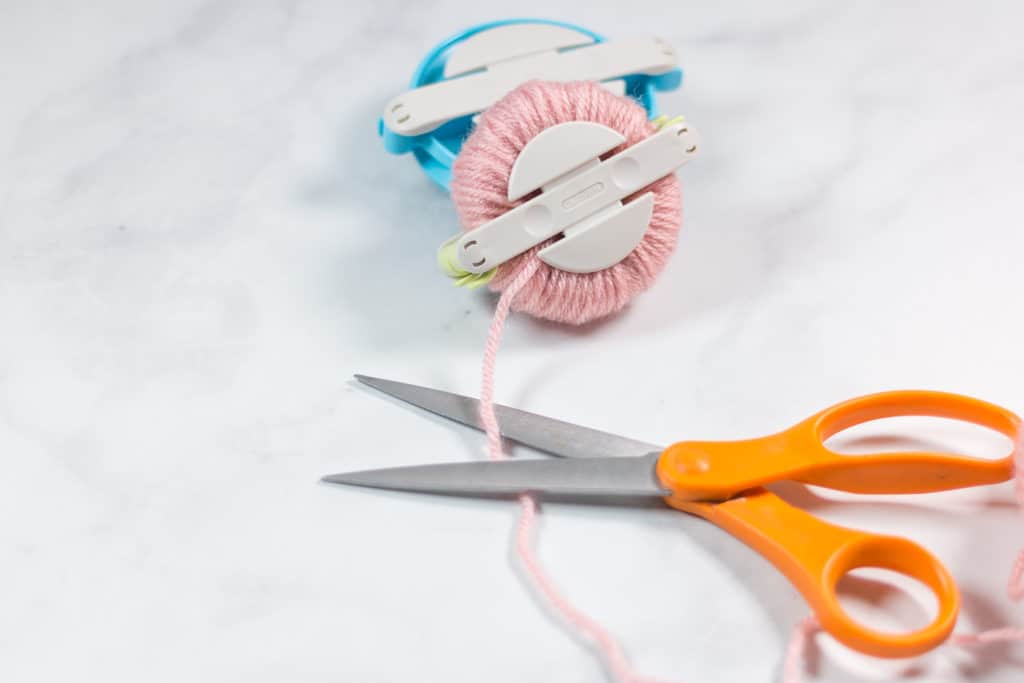
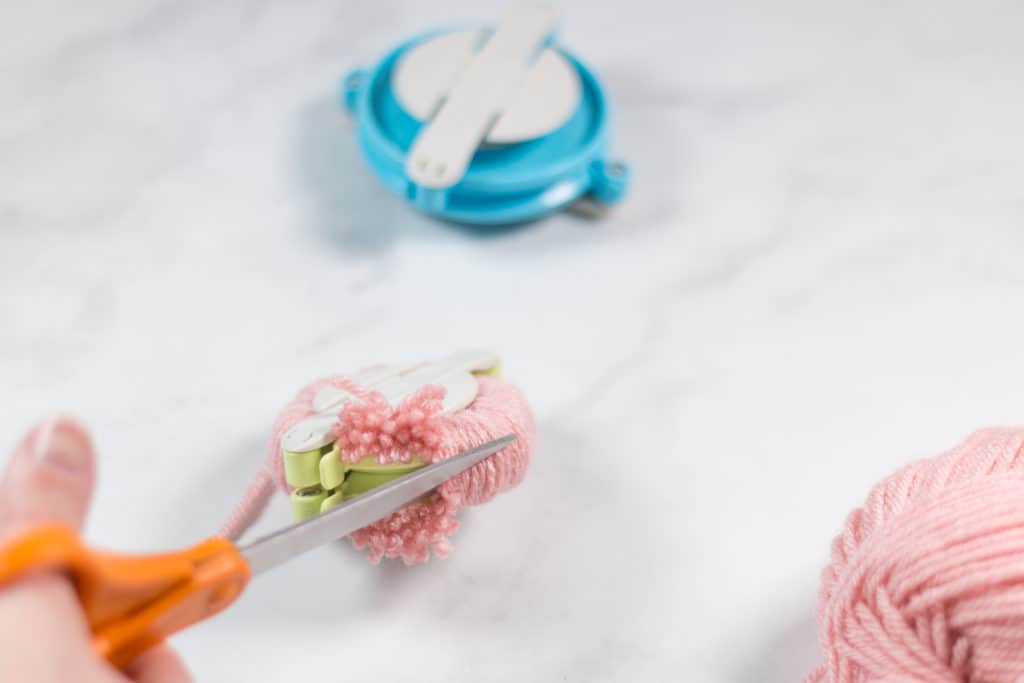
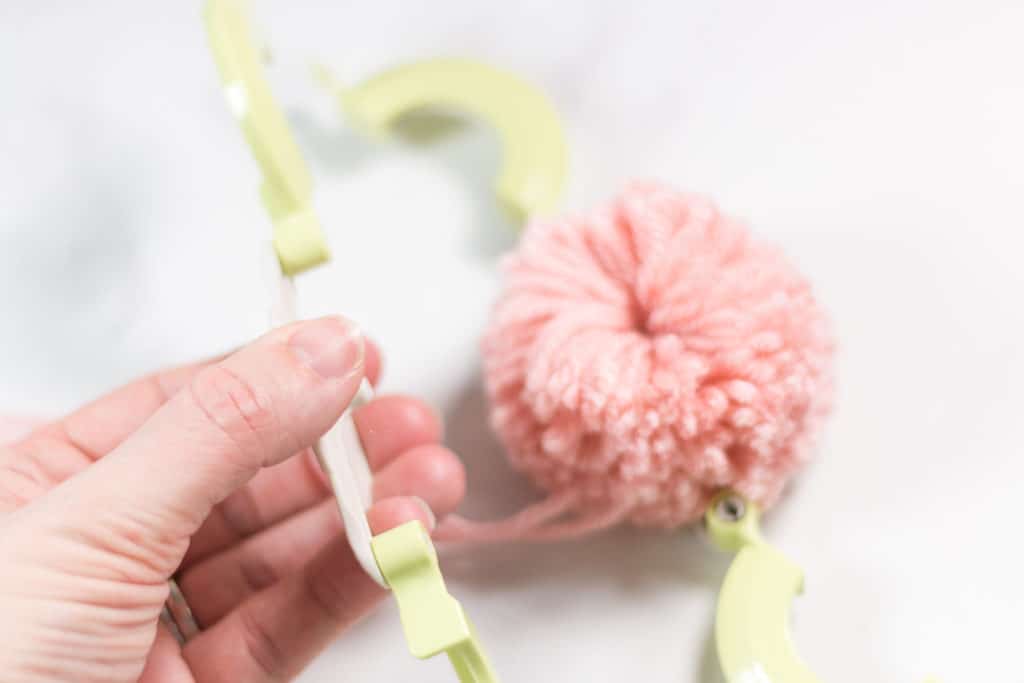
- Using the scissors to cut the yarn down the middle of both sides of the wrapped pom maker
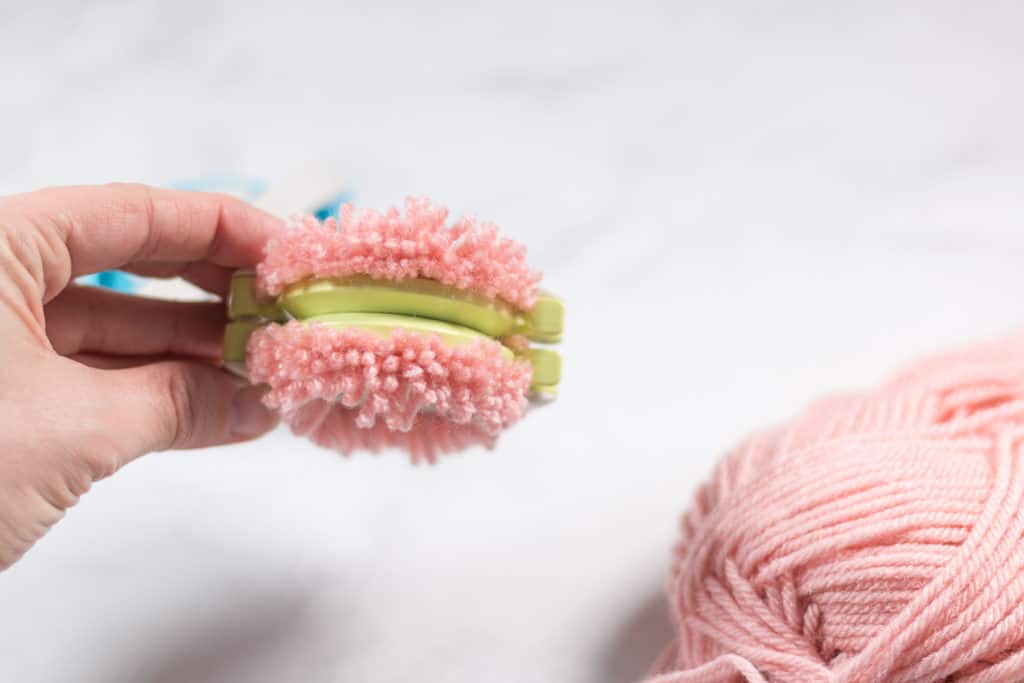
- Cut a piece of yarn to about a length of 10-12 “. Wrap that yarn through the center of the pom maker tightly tying a knot. Tie another knot to secure.
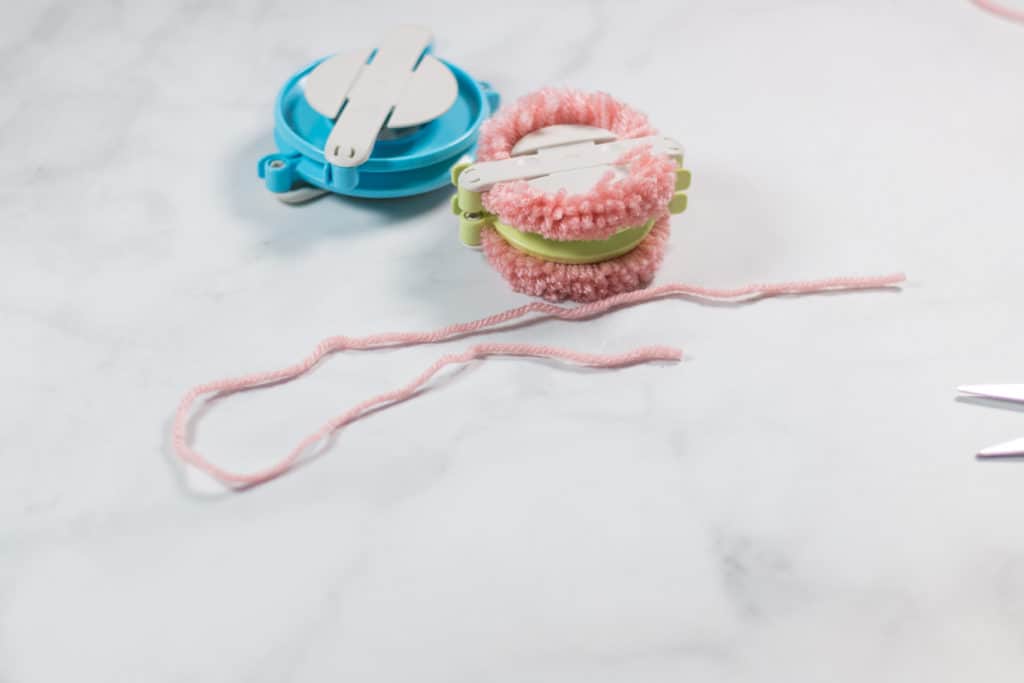
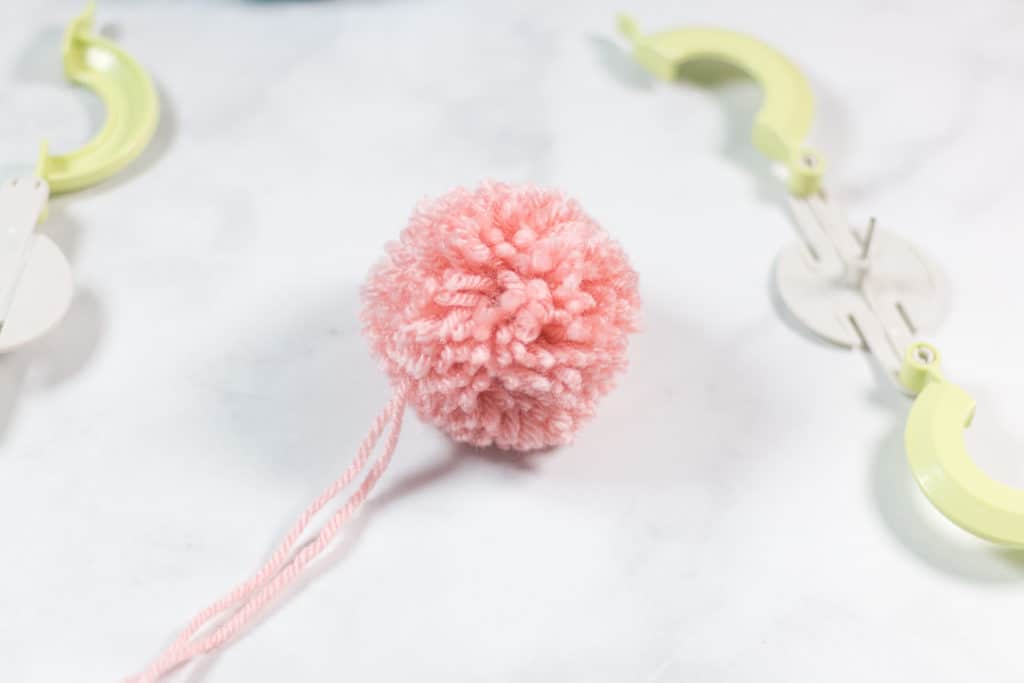
- Open both sides of the pom maker and pop open the center of the maker to reveal your new pom!
- Trim up the pom with a pair of scissors to even out the pom.
- Cut the long yarn end from tying off to be the same length as the yarn ends on the pom.
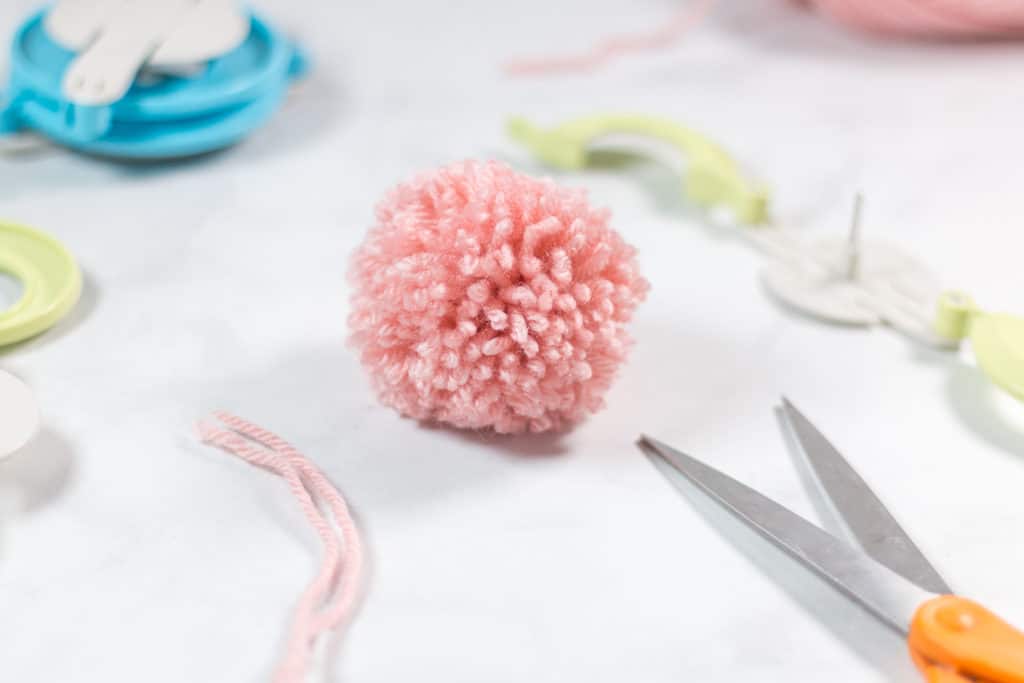
You are done!
Use The Clover Pom Maker to Add Poms to Crochet Projects!
Now that you know how to use a pom maker, you can add a pom to almost any project or pattern you can think of!
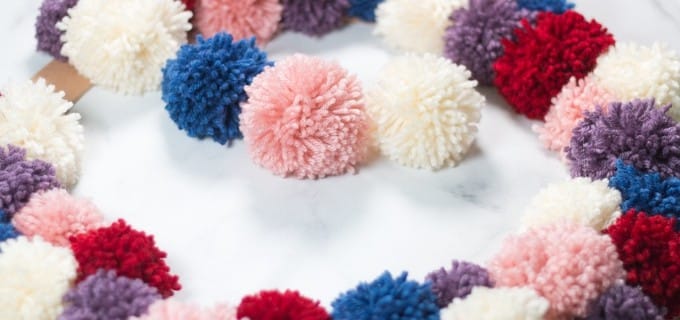
This is a great tutorial to learn how to make a pom pom out of yarn for a hat, for on the corners of crochet / knit blankets and to make an easy pom wreath!
- 13 Simple DIY Ornaments for Christmas Using Yarn
- DIY Macramé Wall Hanging Patterns for Home Decor
- Easy To Make Macramé Patterns
- 5 Easy Punch Needle Kits for Beginners
- Gift Tags for Handmade Items
- How to Use A Clover Pom Pom Maker
- 30 Minute DIY Yarn Wall Hangings
- Yarn Wrapped Heart Crochet Wreath – Valentine’s Day
- Office Redo and Yarn Storage Reveal

One Comment